
Minecraft Server WebAdmin
View on GitHubA modern web-based admin panel for managing Minecraft servers, worlds, and player options built with Python.
Features
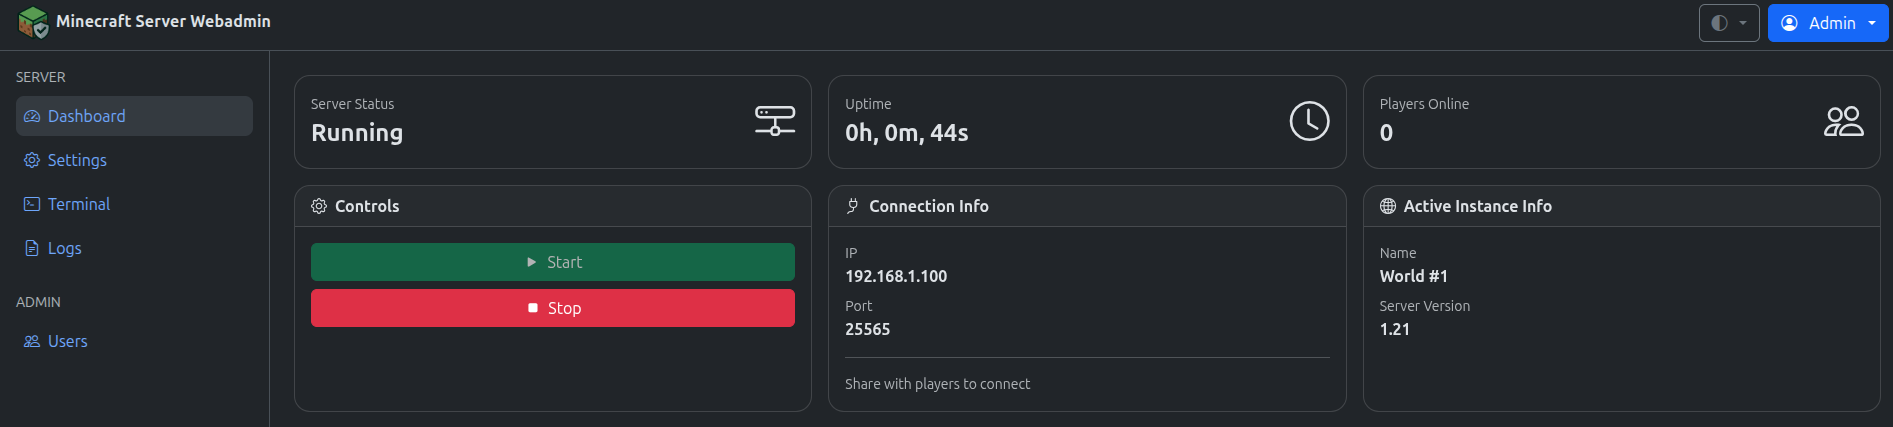
- Start, stop, and restart Minecraft servers from the web UI
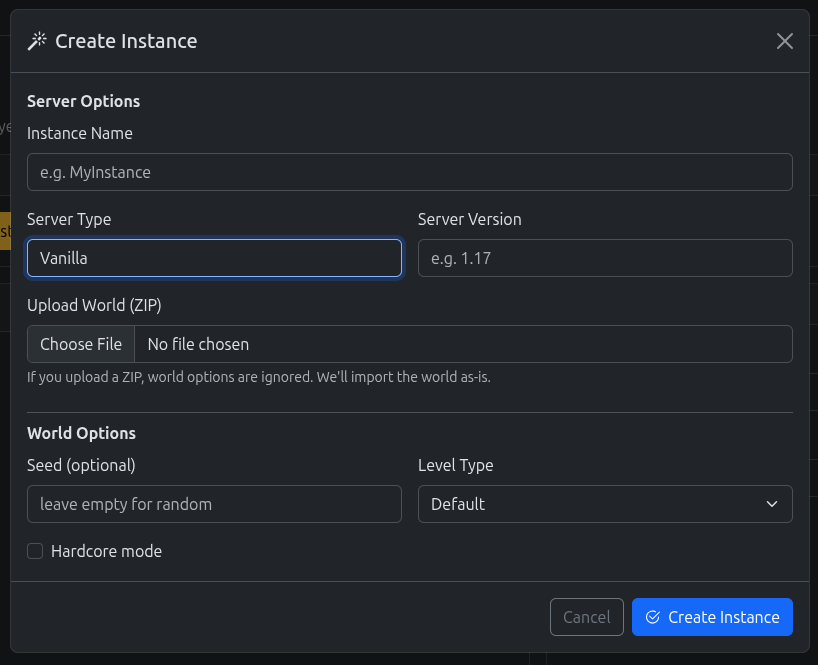
- Manage multiple worlds: create, activate, and delete worlds
- Change server version and configuration
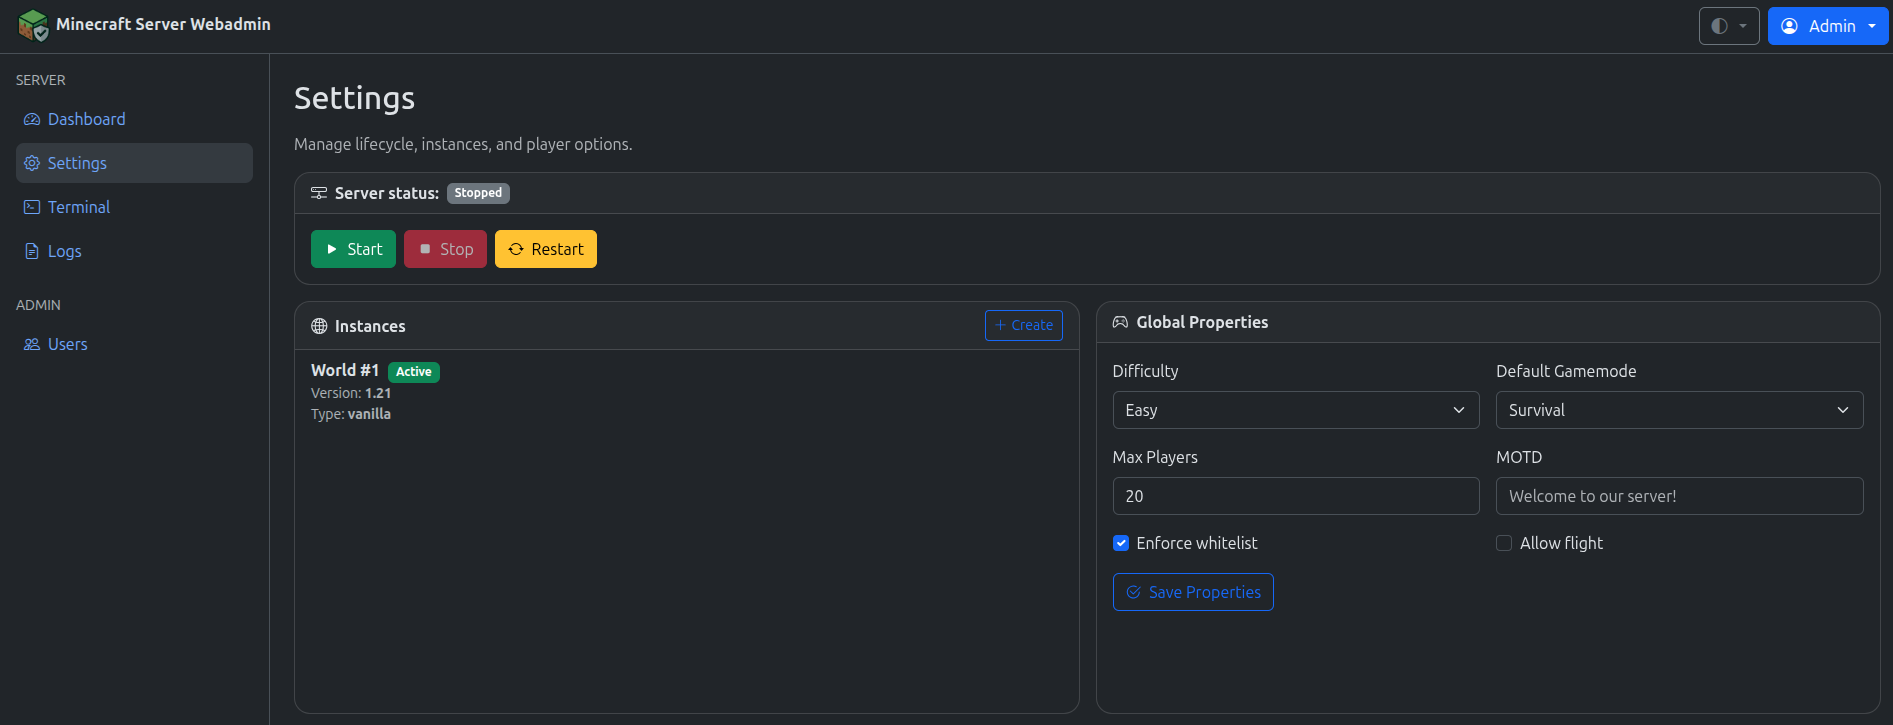
- Player options: difficulty, gamemode, whitelist, MOTD, and more
- User authentication and role-based access
- View server logs and terminal output
- Responsive, mobile-friendly interface
- Openid Connect authentication support
- Admin CLI for users administration
Screenshots
Dashboard
Settings
New World
Quick Start (Docker)
1. Deploy container
Docker run command:
docker run -d \
    -e MCADMIN_DISPLAY_IP=your.public.ip.address \
    -p 8000:8000 \
    -p 25565:25565 \
    -v $(pwd)/data:/data \
    ghcr.io/septi0/mc-server-webadmin:latest
OR
Docker compose file:
services:
  mc-server-webadmin:
    image: ghcr.io/septi0/mc-server-webadmin:latest
    environment:
      - MCADMIN_DISPLAY_IP=your.public.ip.address
    ports:
      - "8000:8000"
      - "25565:25565"
    volumes:
      - ./data:/data
2. Configure
Configuration is done via environment variables. Any entry from the config file has it’s equivalent as an environment variable, with the format MCADMIN_<KEY> for minecraft server related configuration and MCADMIN_WEB_<KEY> for web server related configuration.
Common configuration options:
MCADMIN_JAVA_MIN_MEMORY: The minimum amount of memory to allocate to the Java process (default:1G)MCADMIN_JAVA_MAX_MEMORY: The maximum amount of memory to allocate to the Java process (default:1G)MCADMIN_DISPLAY_IP: The IP address to display for connecting to the Minecraft serverMCADMIN_WEB_TRUSTED_PROXIES: Comma-separated list of trusted proxy IPsMCADMIN_WEB_BASE_URL: The base URL for the web interface (default:/)
Note! When running the application as a container (or using proxies / port forwarding, etc.), the real IP and port are not directly accessible to the app and it won’t display the correct connect information. To fix this, use MCADMIN_DISPLAY_IP (or MCADMIN_DISPLAY_HOST), and MCADMIN_DISPLAY_PORT configuration options.
For details on available configuration options, please refer to the config.sample.yml file.
3. Access the Web UI
Open your browser to http://localhost:8000
Local Installation (alternative to Docker installation)
1. Clone the repository
git clone <your-repo-url>
cd mc-server-webadmin
2. Install dependencies
python3 -m venv venv
source venv/bin/activate
pip install -r requirements.txt
3. Configure
cp config.sample.yml config.yml4. Run the server
python run.py --config config.ymlRunning commands via CLI
Check the help for available commands as this feature is still under development.
Docker installation
docker exec -it <container-name> mc-server-webadmin users --helpLocal installation
python run.py --config config.yml users --helpOpenid Connect
This application supports OpenID Connect (OIDC) for user authentication. OIDC is an authentication layer on top of OAuth 2.0 that allows clients to verify the identity of users based on the authentication performed by an authorization server.
Configuration
To use OIDC, you need to enable OpenID Connect Authentication option in Authentication menu and configure a provider.
After configuration, the Redirect URI and Logout Backchannel URI will be displayed in the list of providers.
When using the Auto Launch option, users will be automatically redirected to the OIDC provider’s login page without having to click a login button. In order to use the regular login flow, add ?direct=true to the login URL.
Disclaimer
This software is provided as is, without any warranty. Use at your own risk. The author is not responsible for any damage caused by this software.
License
See LICENSE.